
The Ultimate Guide to Repotting Snake Plants Safely
Users are seeking detailed instructions and guidance on how to repot a snake plant without causing harm to its roots, indicating a need for informative content.
On this page
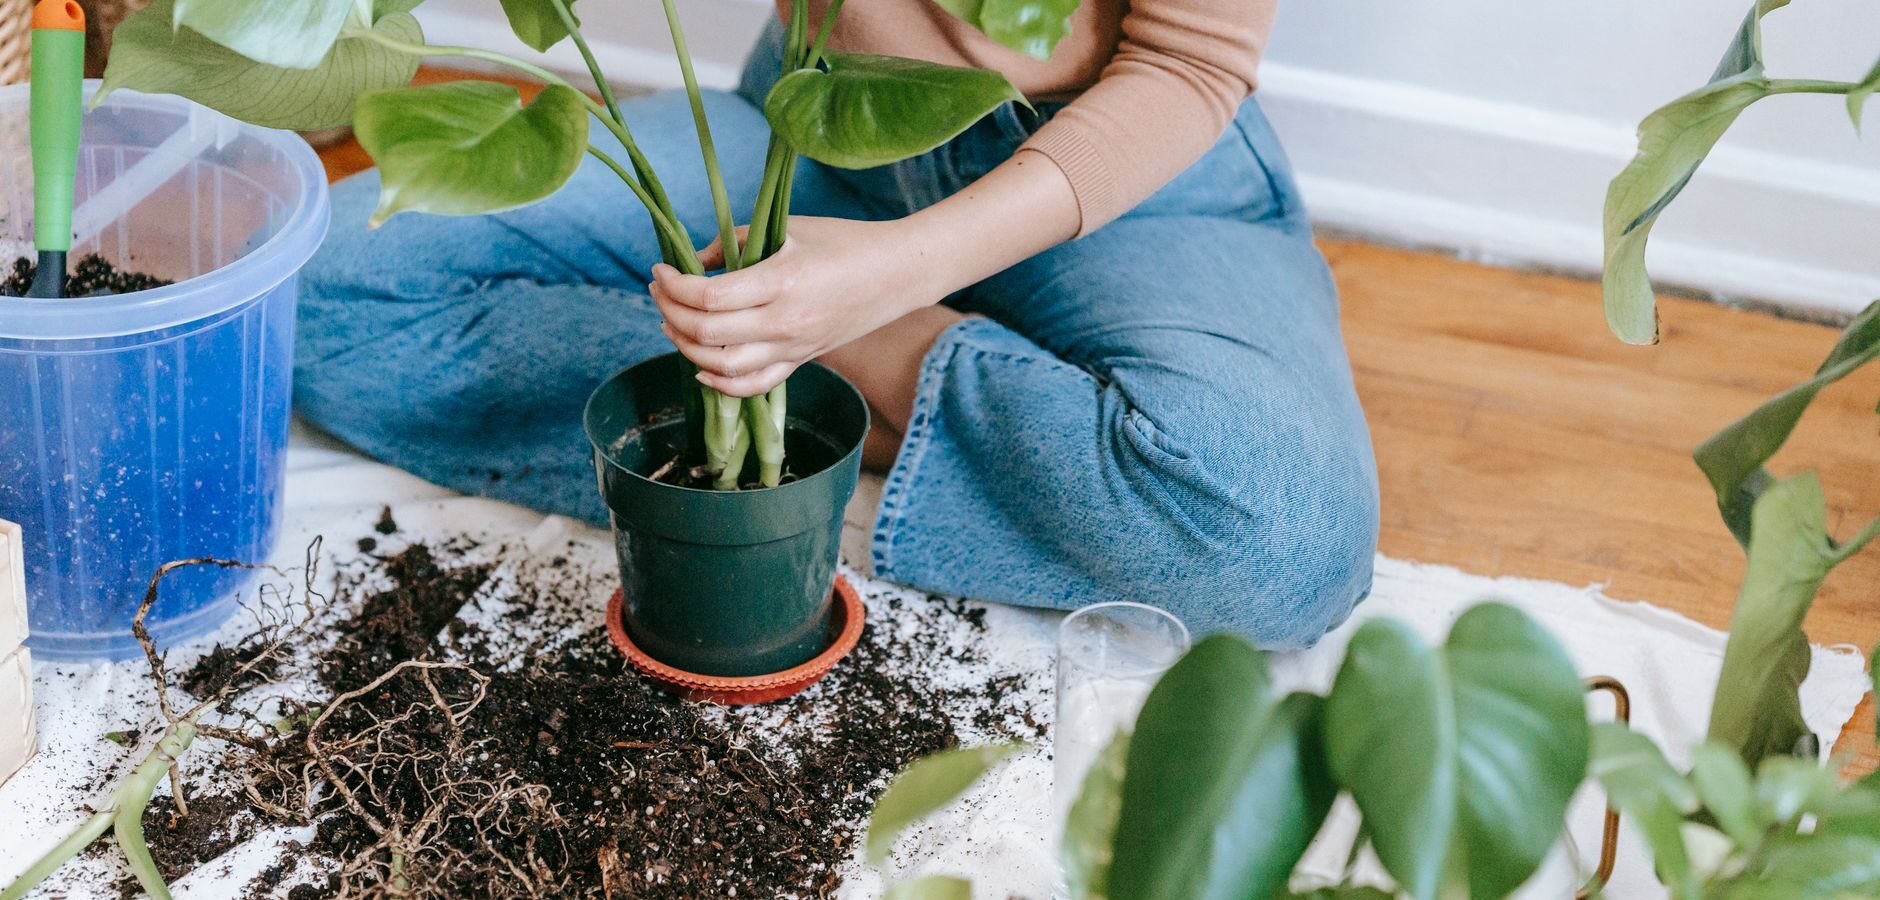
How to Repot a Snake Plant (Without Damaging the Roots)
Repotting a snake plant (Sansevieria) without damaging its roots is crucial for the plant's health and longevity. While snake plants are known for their resilience and ability to thrive in various conditions, they still require occasional repotting to refresh the soil, provide more space for growth, and prevent root-bound conditions. Understanding when and how to repot your snake plant will ensure it remains healthy and continues to flourish in your home.
Signs Your Snake Plant Needs Repotting
Before diving into the repotting process, it’s essential to recognize the signs that indicate your snake plant is ready for a new pot. Here are some common indicators:
- Root Bound Conditions: If you notice roots growing out of the drainage holes or circling tightly within the pot, it’s a clear sign that your snake plant is root-bound. This restricts the plant’s access to nutrients and water, leading to stunted growth.
- Soil Degradation: Over time, the soil can break down and lose its ability to retain moisture and nutrients. If you notice that water is draining too quickly or the soil appears compacted, it’s time to repot.
- Stunted Growth: If your snake plant has stopped growing or shows signs of yellowing leaves, it may be a sign of nutrient depletion or root crowding.
- Top-heavy Appearance: If your snake plant is leaning or top-heavy, it may need a larger pot to stabilize its growth.
Typically, snake plants should be repotted every 2-3 years, but this can vary based on factors like pot size, growth rate, and soil condition. Regularly checking for these signs will help you maintain a healthy plant.
Step-by-Step Guide to Repotting Without Root Damage
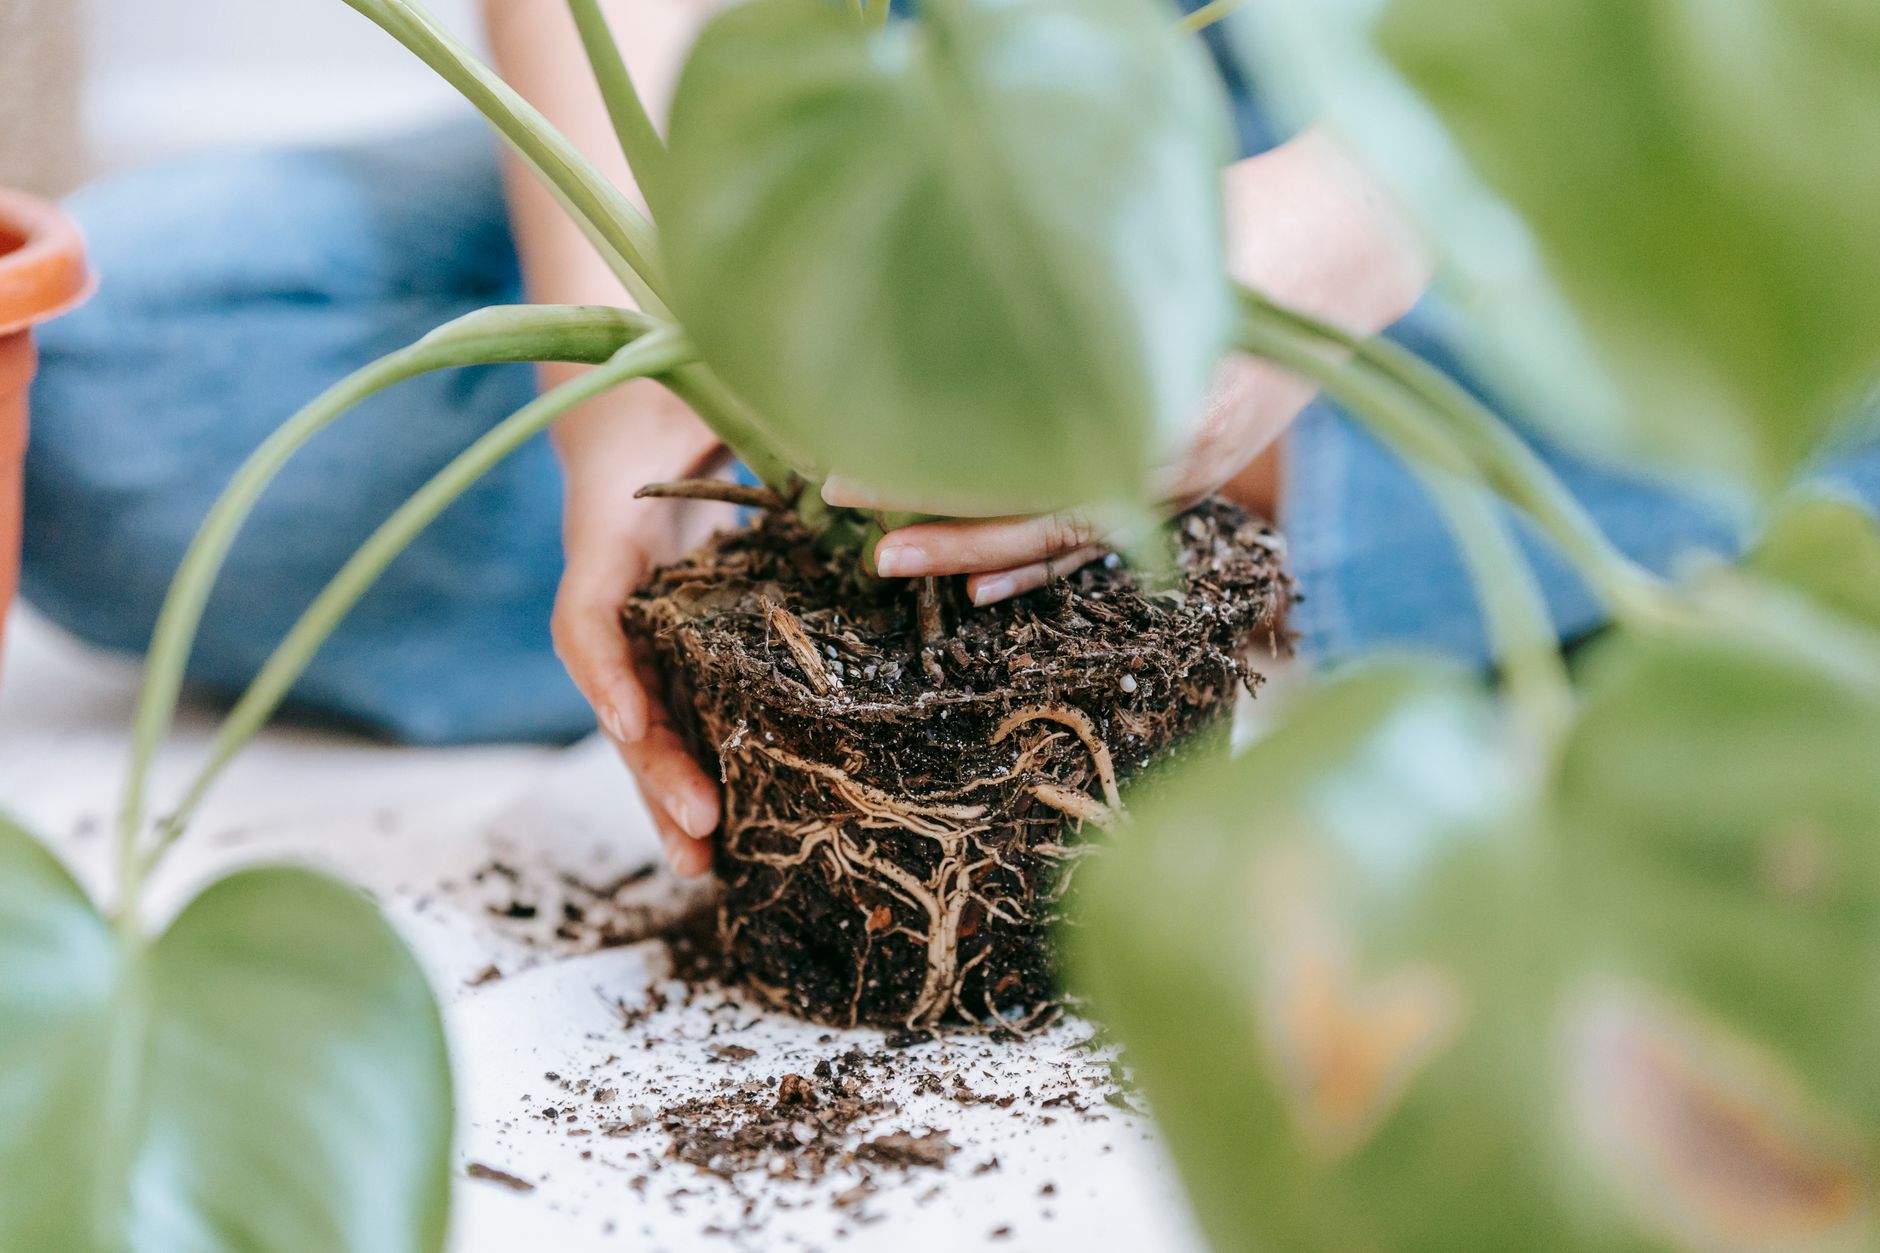
Once you've identified that your snake plant needs repotting, gather the necessary materials and tools:
Materials and Tools Needed:
- A new pot (1-2 inches larger in diameter than the current pot)
- Well-draining potting mix (a cactus or succulent mix works well)
- A trowel or small shovel
- Gloves (optional)
- Watering can or spray bottle
- Scissors (for trimming roots if necessary)
Repotting Steps:
- Prepare the New Pot: Choose a pot with drainage holes to prevent waterlogging. Fill the bottom with a layer of potting mix, about 1-2 inches deep.
- Remove the Snake Plant from Its Current Pot: To avoid damaging the roots, gently grasp the base of the plant and wiggle it back and forth while pulling upward. If it’s stuck, you can tap the sides of the pot to loosen the soil.
- Inspect the Roots: Once out, examine the roots. Healthy roots should be white or light tan and firm. If you find any mushy or dark roots, trim them with scissors. This helps prevent rot and encourages new growth.
- Place the Plant in the New Pot: Center the plant in the new pot, ensuring that it sits at the same depth as it was in the old pot. Fill around the roots with fresh potting mix, gently pressing down to eliminate air pockets.
- Water the Plant: After repotting, give your snake plant a light watering. This helps settle the soil around the roots. Avoid overwatering; snake plants prefer to dry out between waterings.
- Position the Plant: Place your newly potted snake plant in a location with indirect sunlight. Avoid direct sunlight immediately after repotting, as the plant may be stressed.
By following these steps, you can repot your snake plant without causing harm to its roots, ensuring a smooth transition to its new home.
Post-Repotting Care and Timeline
After repotting, your snake plant will need some extra attention to help it acclimate to its new environment. Here’s a care routine for the first few weeks post-repotting:
- Watering: For the first week, avoid watering unless the soil feels extremely dry. After that, resume your regular watering schedule, allowing the soil to dry out completely between waterings.
- Light Conditions: Keep your snake plant in a spot with bright, indirect light. This helps it recover from the stress of repotting without overwhelming it.
- Humidity and Temperature: Snake plants thrive in average humidity and temperatures between 60°F and 80°F (15°C to 27°C). Keep them away from drafts or extreme temperature changes.
Week-by-Week Recovery Timeline:
- Week 1: The plant may appear slightly droopy or stressed. This is normal as it adjusts to its new pot. Avoid excessive watering.
- Week 2: You may start to see new growth or a return to its upright position. Continue to monitor soil moisture.
- Week 3: By now, the snake plant should look healthier, with firm leaves and signs of new growth. Resume regular care.
- Week 4 and Beyond: The snake plant should be fully adjusted. You can start fertilizing lightly if desired, using a balanced, diluted fertilizer during the growing season.
Repotting can be a stressful experience for your snake plant, but with proper care and attention, it will bounce back quickly. Keeping an eye on your plant’s health and adjusting care as needed will ensure it thrives for years to come.
In conclusion, repotting a snake plant is a straightforward process when done correctly. By recognizing the signs that it needs repotting, following a careful step-by-step guide, and providing appropriate post-repotting care, you can help your snake plant flourish in its new home without damaging its roots. Happy gardening!